One of my favorite features of the Xbox One is the ability to define a passkey that can be easily entered using the controller[1]. The general idea to allow easy and fast access is great, but I always struggle with the mapping of the numbers on the controller. While that’s a minor problem during daily use because the buttons that I need to push are memorized in my muscle memory - meaning I remember which buttons to press and in which order, while not remembering the number sequence of the actual passkey. After more than two years, I couldn’t tell you which button represents which number, and the other way around.
Review Of The Current Mapping
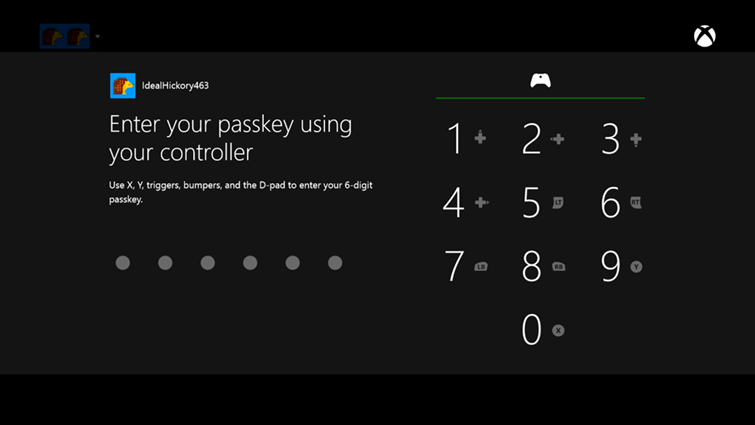
The first surprising thing for me is that the A and B buttons are not used. The idea behind that may be to avoid confusing the user because the buttons are also used for OK and Cancel in the general menu, though the passkey screen does not offer these commands. The main problem with the mapping is the order. The D-pad order is counter-clockwise and the rest is a zigzag course. The graphic below shows the order the numbers are mapped to the controller.

Alternative Number Mapping
My approach borrows the concept of mapping the numbers 1 - 4 to the D-pad, but in clockwise order, which I find to be more intuitive. The buttons X, Y, A and B will be mapped in the same way as the D-pad, for numbers 5 - 8. Number 9 is assigned to RT and 0 is assigned to LT, although it is also possible to use RB and LB for 9 and 0.

It may not be clear on first glance, but if you image the order as two rollercoaster loopings, it shows how this can be a more intuitive and easy number mapping to use. You also have more balance because the left and the right side of the controller are assigned with the same amount of commands.
